Most of what determines whether a stain job holds up for years — or starts peeling within a season — happens before the stain is ever applied. Here's how we approach every fence and deck project, start to finish.
A lot of what determines whether a stain job looks great and lasts for years — versus peeling or fading within a season — happens before a drop of stain ever touches the wood. Here's a look at how we actually approach a fence or deck project, start to finish, and why we do it this way.
Step 1: Wash
Every project starts with a thorough wash. This removes surface dirt, pollen, mildew, and the general grime that builds up on outdoor wood over a Colorado season. Washing also helps open up the wood grain so it's ready to accept stain evenly, rather than blocking absorption with a layer of buildup on top.
Step 2: Sand (When Needed)
Not every fence or deck needs sanding — it depends on the wood's condition. Rough, splintering boards or a deck surface with heavy wear usually benefit from a light sanding pass to smooth the surface and improve stain absorption. We assess this on-site rather than sanding every job automatically, since over-sanding removes wood fiber unnecessarily and adds cost without adding value.
Step 3: Repairs
Loose boards, popped nails, leaning posts, damaged rails — we handle these before staining, not after. Staining over a structural problem just means you're looking at the same problem again in a year, except now it's under a fresh coat. Fixing it first means the finished product is actually sound, not just good-looking.
Step 4: Let It Dry — Usually a Day or Two
After washing and any repairs, we let the wood dry out fully before applying any stain. How long that takes depends entirely on the weather — Colorado's low humidity often helps here, but a cooler or damp stretch can push that drying window out. Staining over wood that's still holding moisture traps that moisture under the finish, which leads to poor adhesion and a shorter-lived job. We'd rather wait an extra day than rush a coat onto wood that isn't ready.
Step 5: Start Early to Beat the Heat
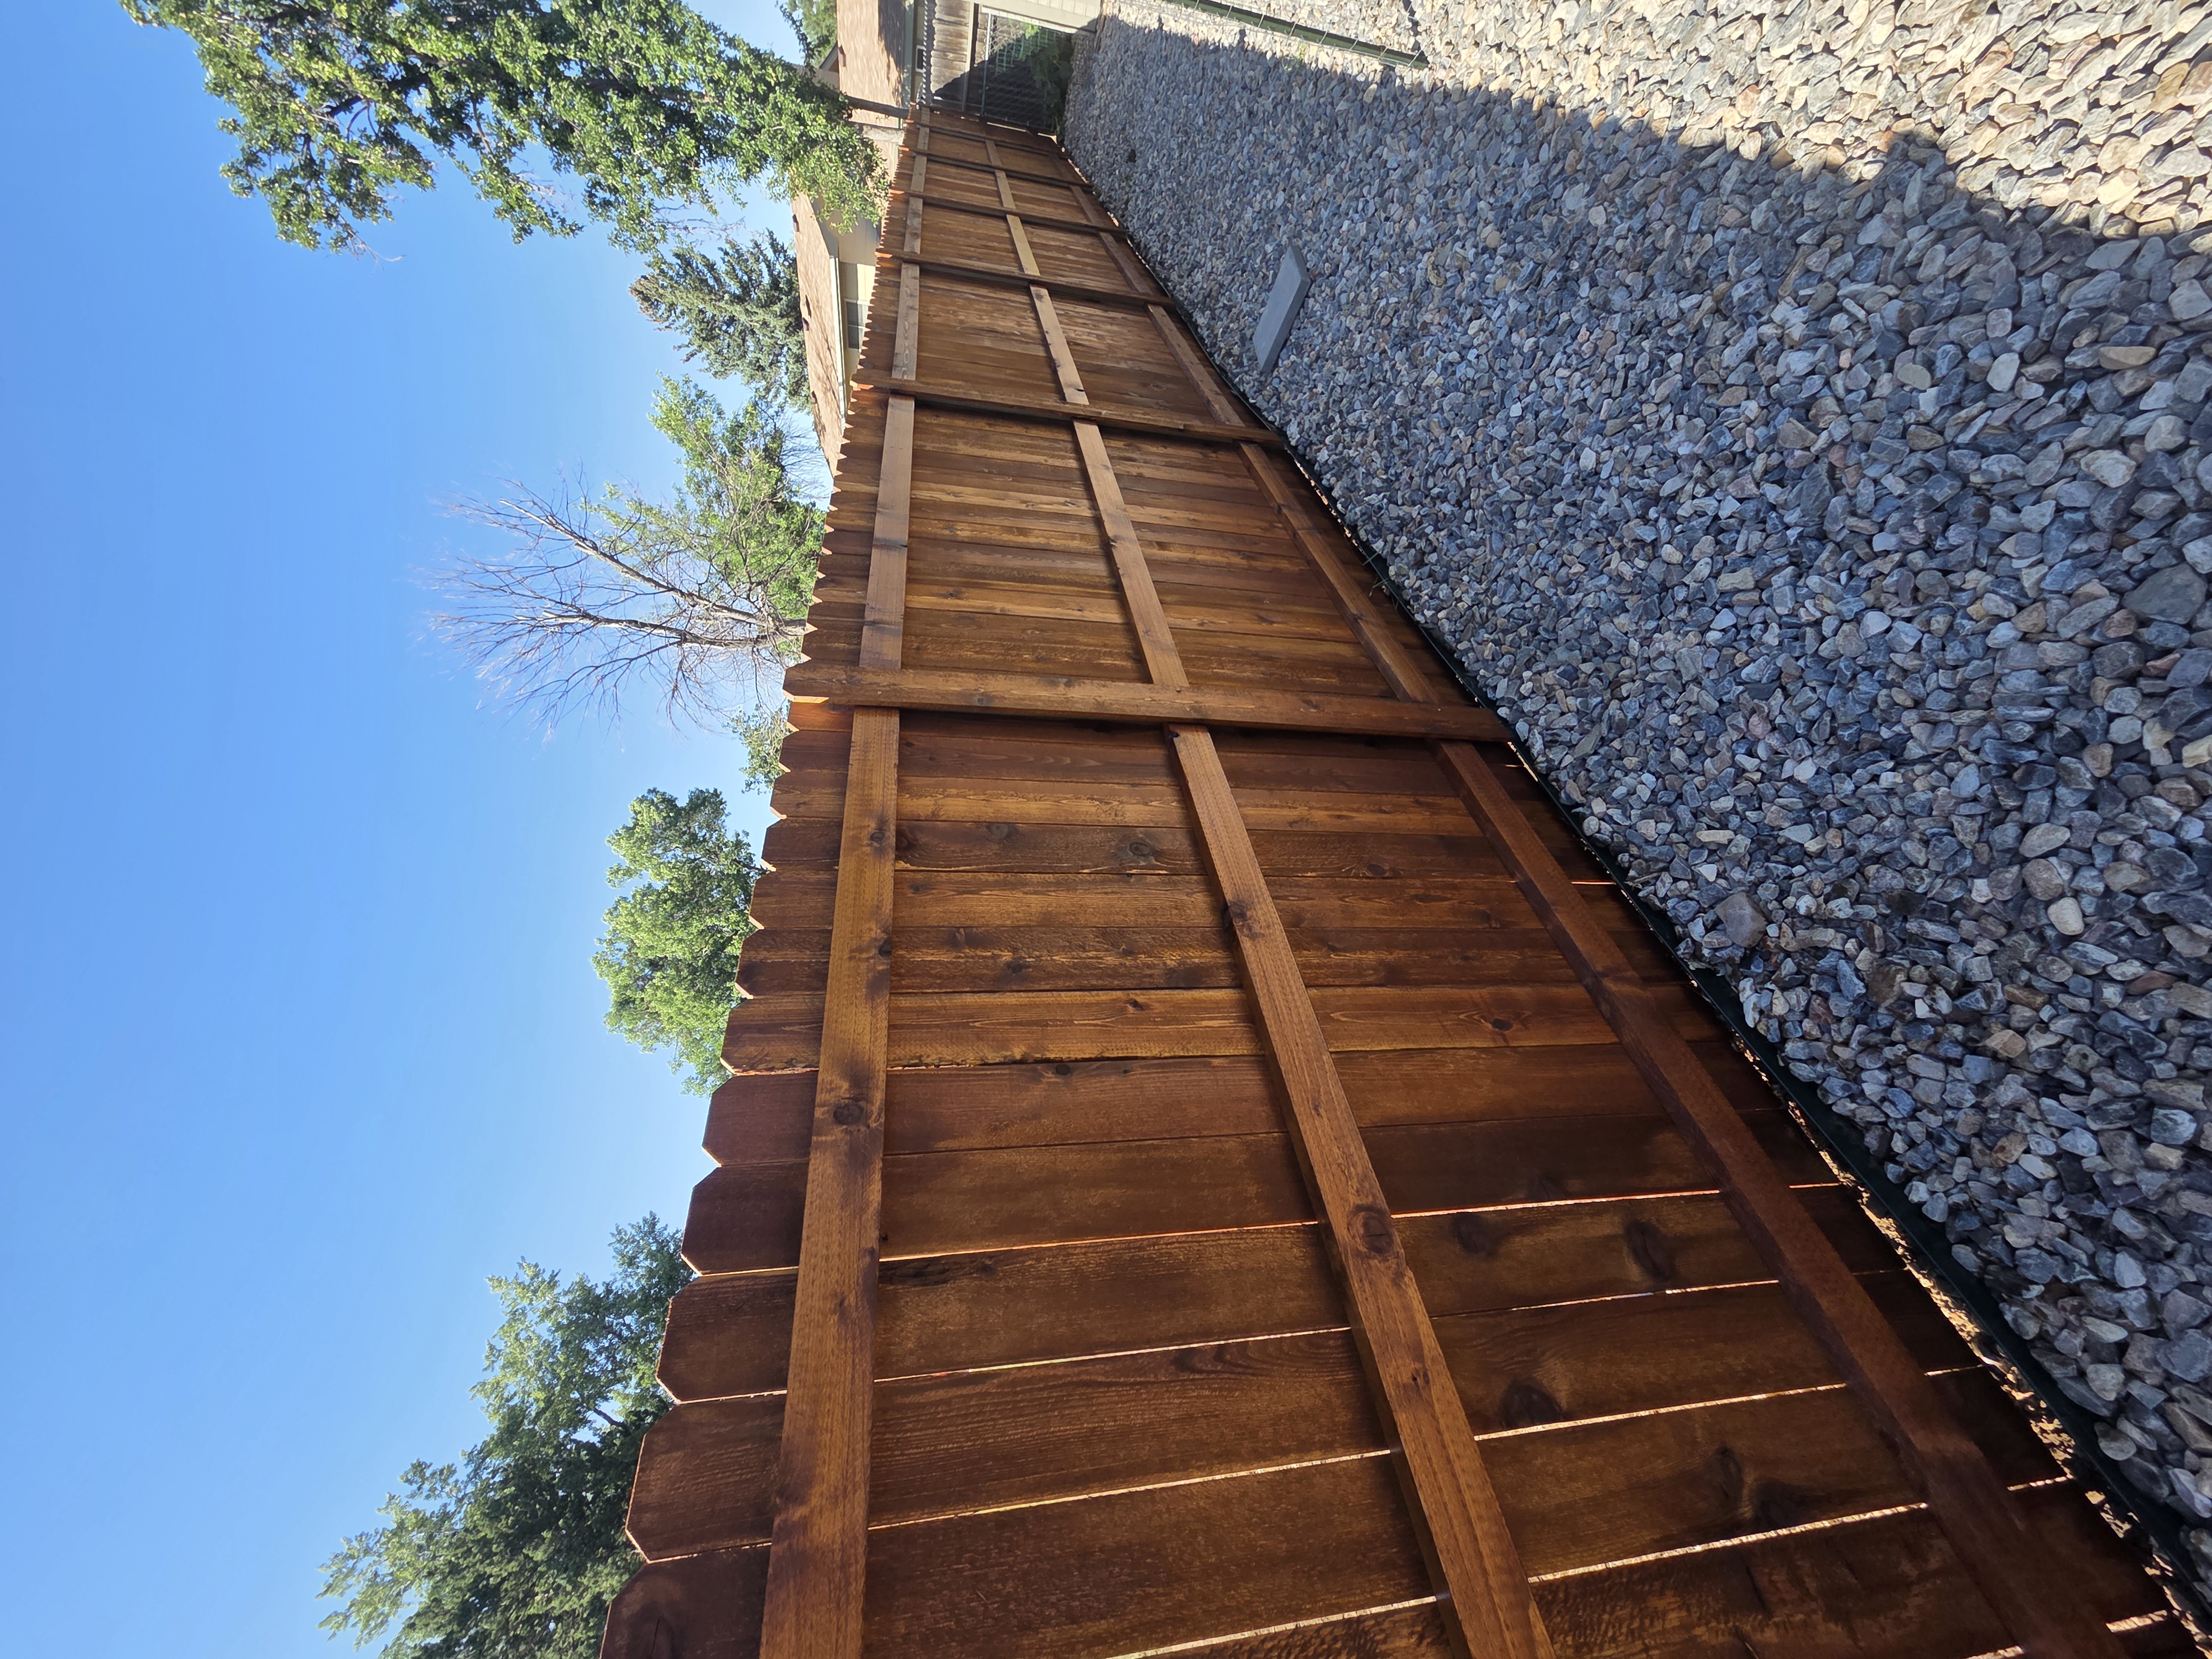
On staining day, we like to get going early in the morning, before the sun is directly overhead and temperatures climb. Direct sun and high heat cause stain to dry too fast on the surface before it has a chance to properly penetrate and level out, which can lead to lap marks, blotching, and uneven color — especially on decks with a lot of open, sun-exposed surface area. Starting early gives us a longer working window in ideal conditions.
Step 6: Application — Sprayer, Roller, and Brush, Not Airless
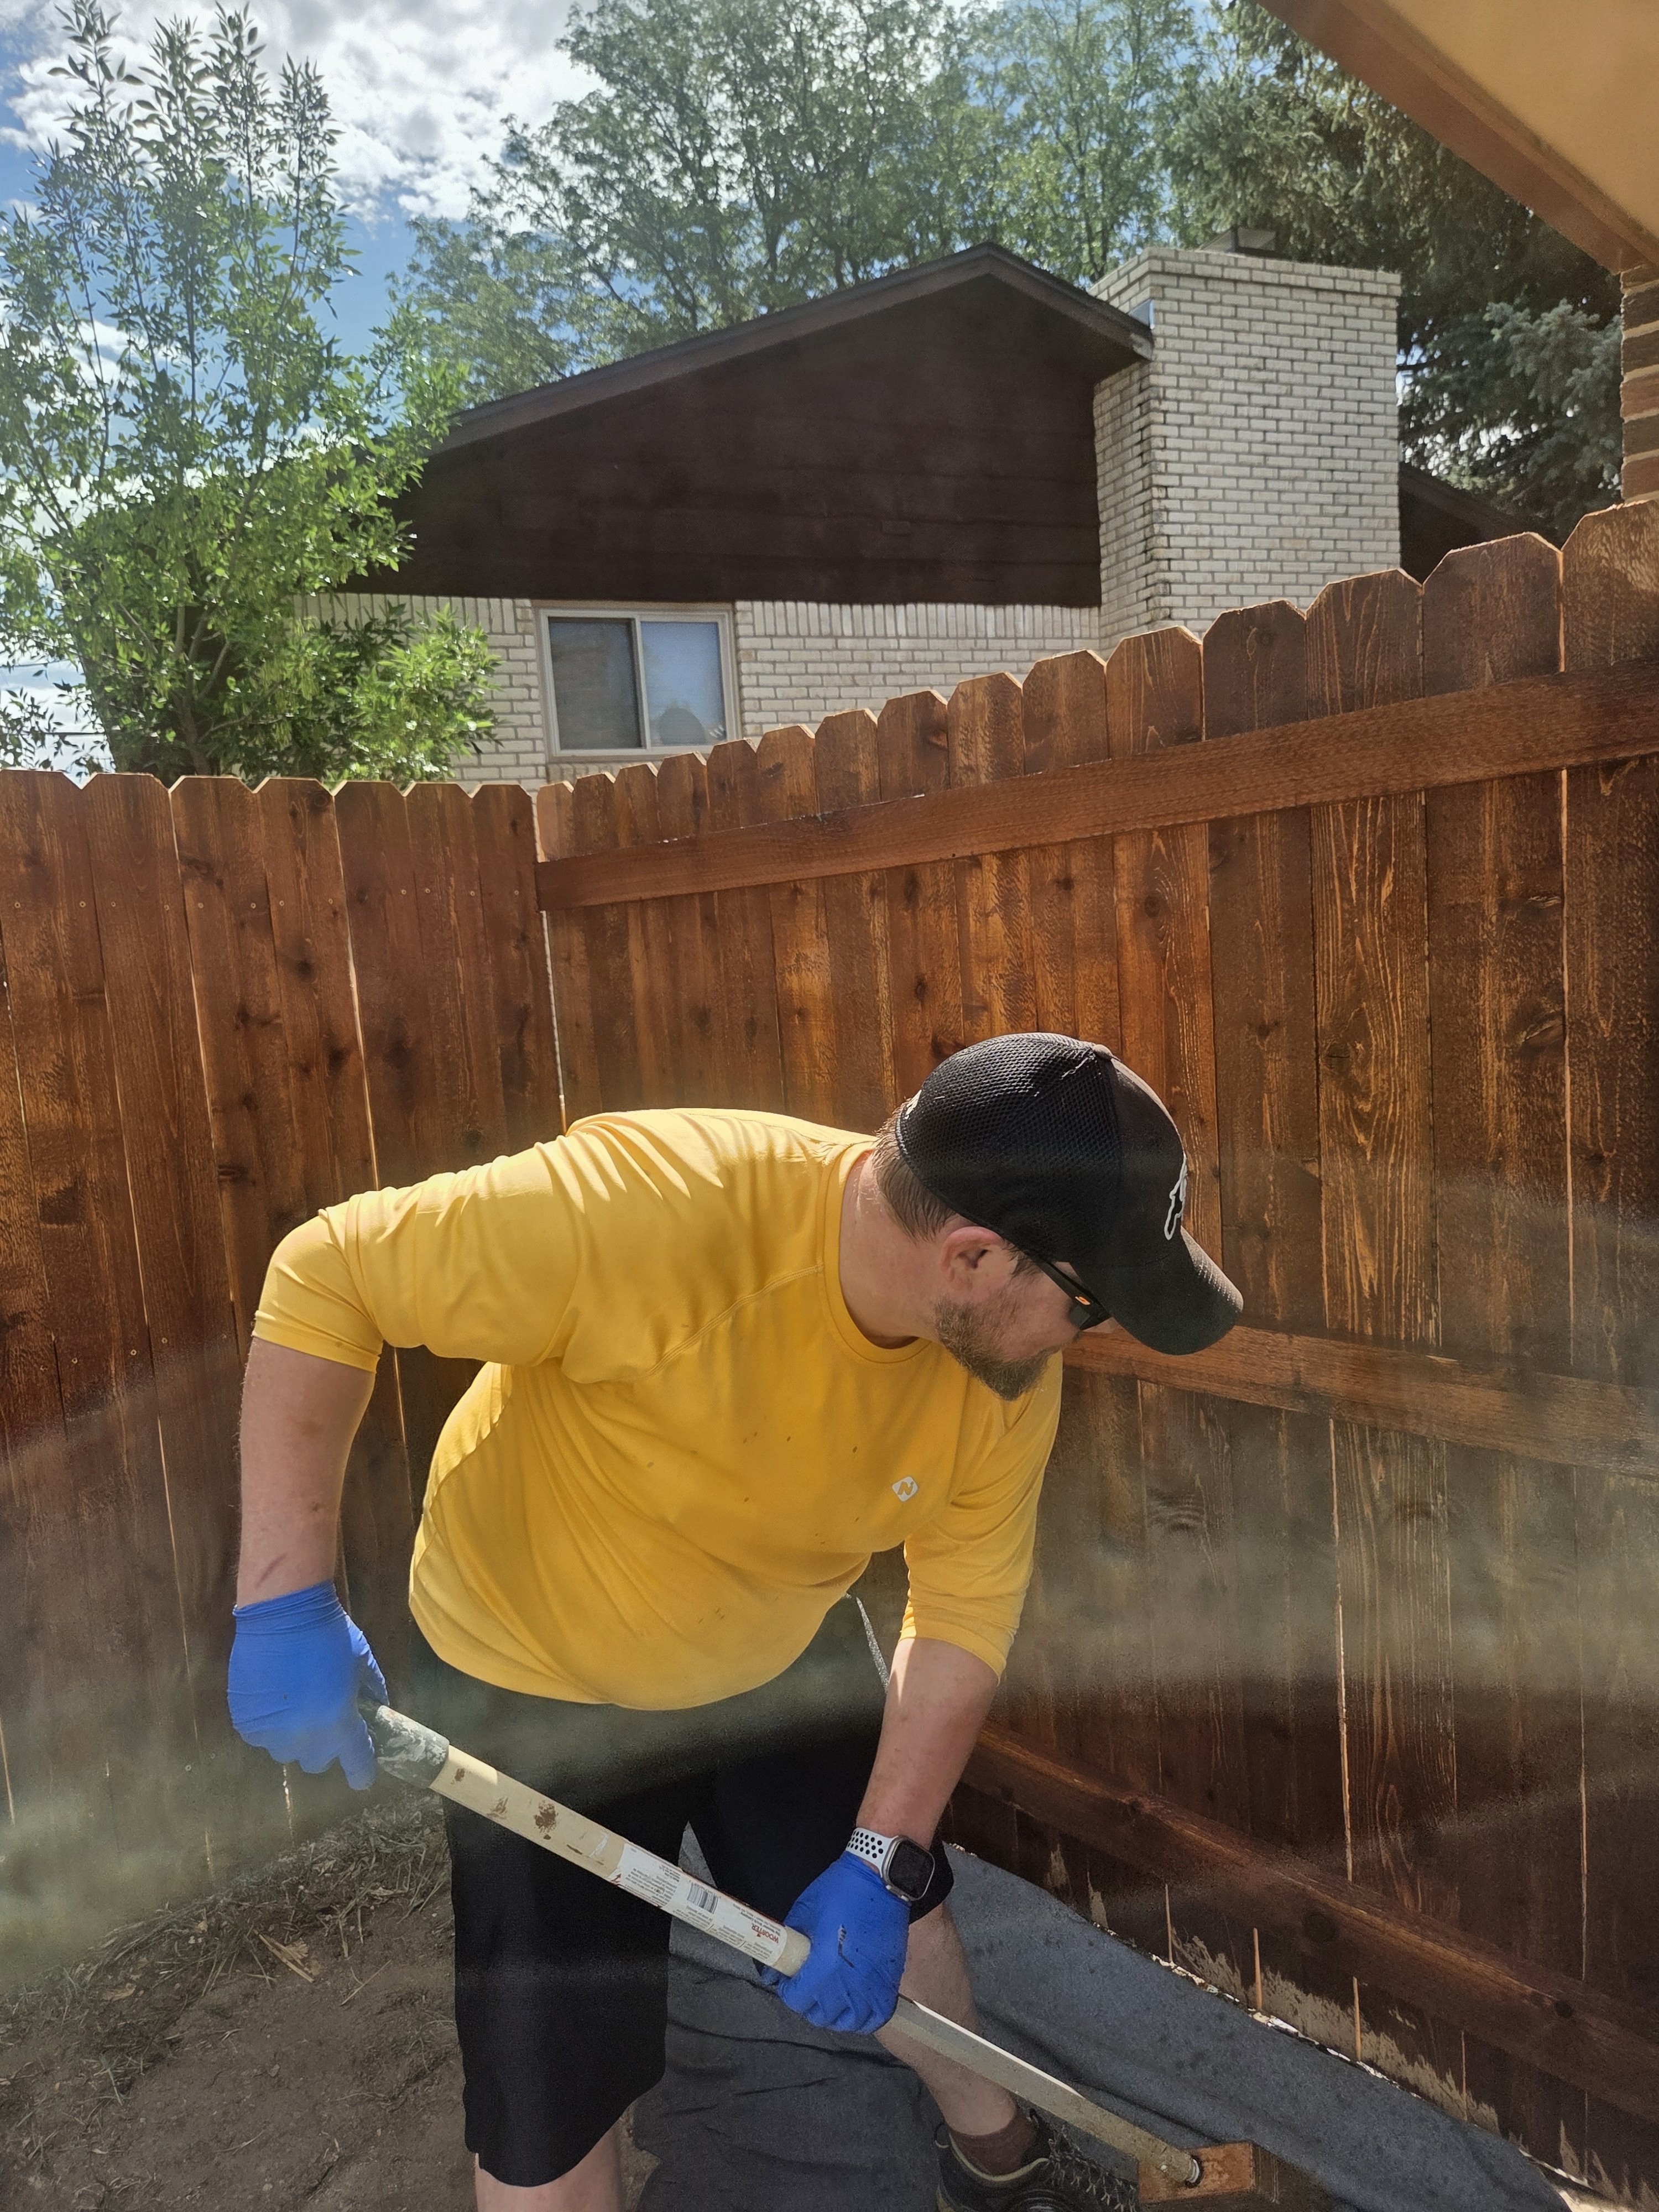
We apply stain using a combination of pump sprayers, rollers, and brushes, depending on the surface. This combination lets us get even, controlled coverage on flat areas while still working stain properly into tight spots — post caps, pickets, rail joints, and deck board edges — where a spray-only approach tends to leave gaps or heavy pooling.
We rarely use airless sprayers anymore. Airless equipment lays down product fast, but it comes with significant overspray, which is a real problem around landscaping, siding, windows, cars in the driveway, and neighboring property. A pump sprayer combined with back-brushing gives us much tighter control over exactly where the stain goes, with far less risk of overspray drift — even on a breezy Colorado day.
Why Your Average Painter Isn't Always the Best Fit for Wood Staining
Painting and staining are related trades, but they're not the same skill set. A painter's day-to-day work is usually focused on surface coverage, cut-in lines, and uniform color on walls, trim, and siding — important skills, but a different discipline than wood staining.
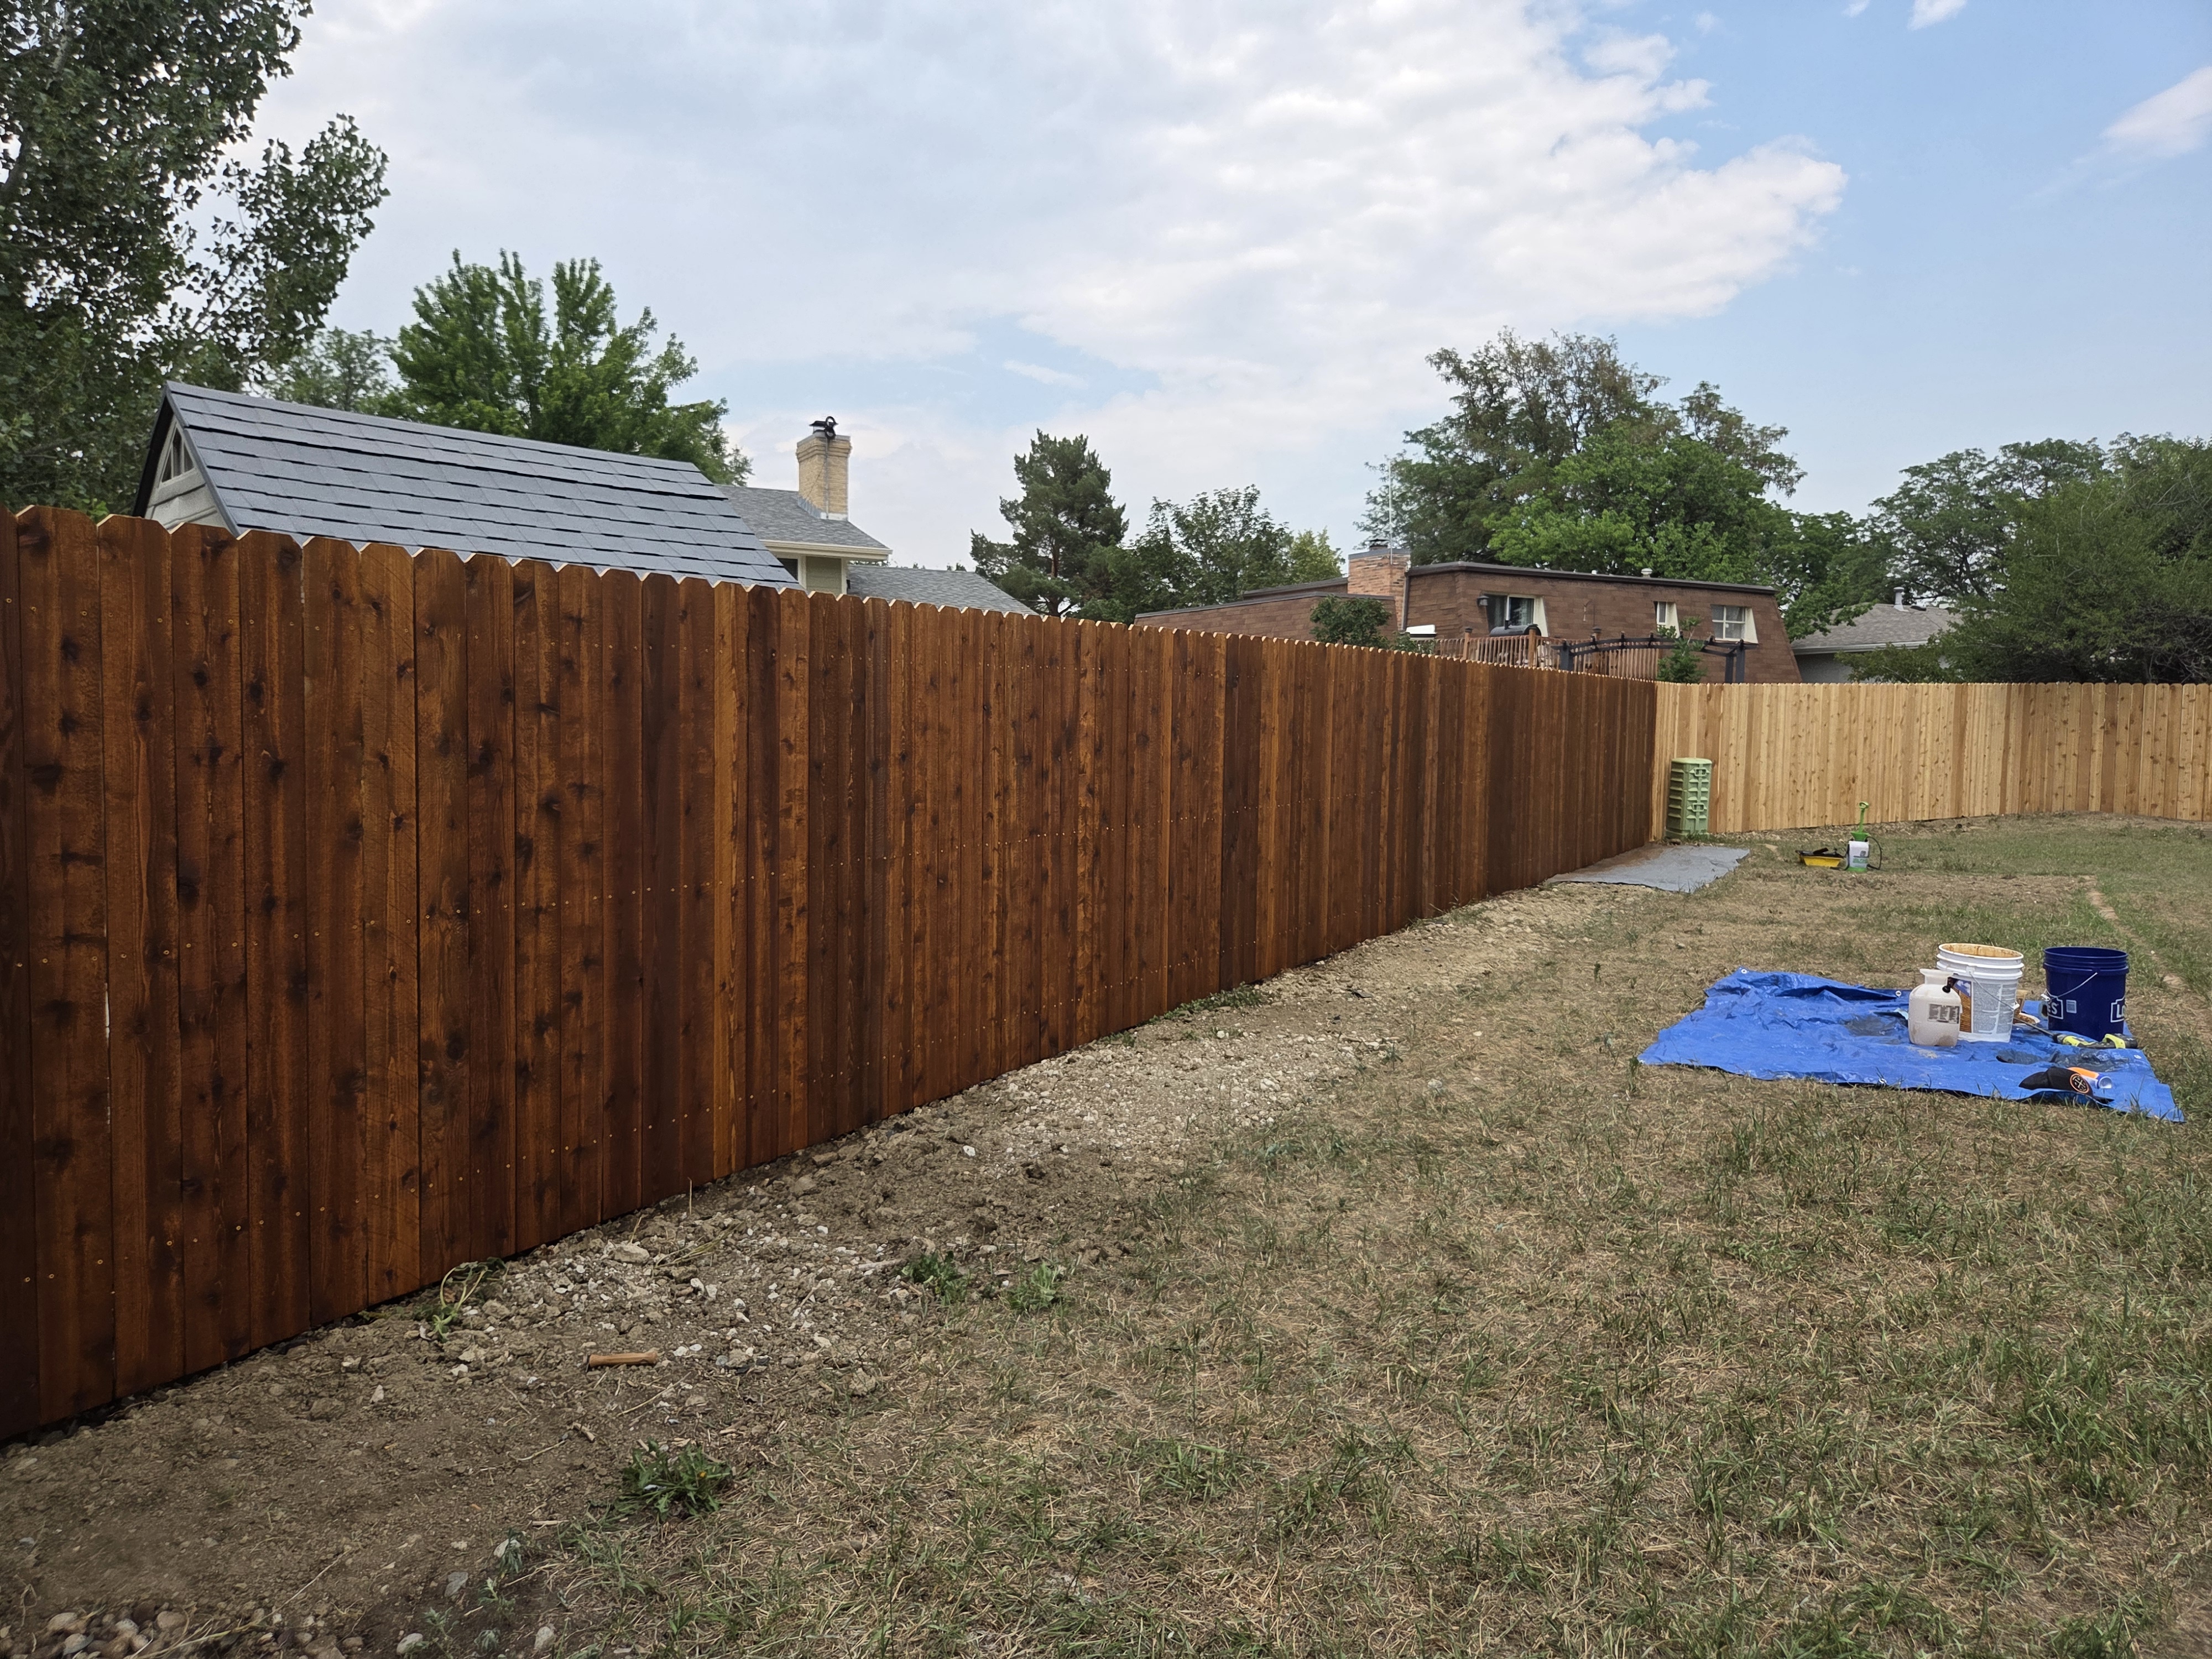
Staining fences and decks well requires understanding wood absorption rates, grain direction, how different species take stain differently, and how to avoid lap marks and blotching on large, sun-exposed, horizontal or vertical wood surfaces. It also means knowing when a surface needs brightening rather than just cleaning, and how prep decisions affect long-term durability specifically for outdoor wood — not interior trim or drywall.
That's not a knock on painters — many are excellent at what they do. It's simply a different specialty, and it's one we've focused on specifically, project after project, across Boulder County and the Front Range.